Port Pillows

Let me start by introducing myself. My name is Nicole and I am Monica’s youngest daughter…2nd in the line of 4, and if I’m being completely honest, the very last one of us that I ever thought who would start sewing, and that’s saying something since the youngest 2 are boys.

COVID had other plans for me though. By April/May of 2020 I was bored out of my mind and asking my mom and sister for sewing machine advice and mom came through as she always does with the amazing machine I am currently using, the Babylock Soprano. The greatest part? It came with lessons as long as I was willing to travel…which I was, so off to visit mom I went and she did a great job of giving me the easiest blanket on the planet to learn to sew with…I made one for each of my kids that Christmas.

So here I am, a couple years later, and I can’t say I am a whole lot better at sewing, but I can say I am willing to try. I decided this year that my goal was to sew SOMETHING every month. It’s early February and so far, I am keeping to it. Now, I guess it would be important to point out that I have yet to sew anything in February and I finished sewing for January right around the 31st, but hey, I got it done so I am counting it a win.

I really had no idea what I wanted to sew in January, I was thinking small and simple to be honest. So when a very dear friend of mine found out her mom has cancer, I immediately started thinking about what I could sew for her. I looked around and found port pillows and chemo blankets. And then I do what I always do and asked mom if she had any place I could find a pattern. And mom did what she always did and had patterns on my phone in about 12 seconds. So I started easy with port pillows.

In case you don’t know, the idea behind a port pillow is to offer a little comfort and cushion for cancer patients who are receiving their chemo through a port that has been surgically inserted into their bodies. These are often placed right in line with where a seat belt comes across your body, and the port pillow offers some cushion so the patient isn’t in pain going to and from wherever they need to go.

The greatest thing about these is how easy they are to make. Well, ok, I guess the greatest thing is that they offer the patient some relief, but the ease of making them has got to be a close second. Mom sent me this link from Create to Donate. Seriously, so easy.

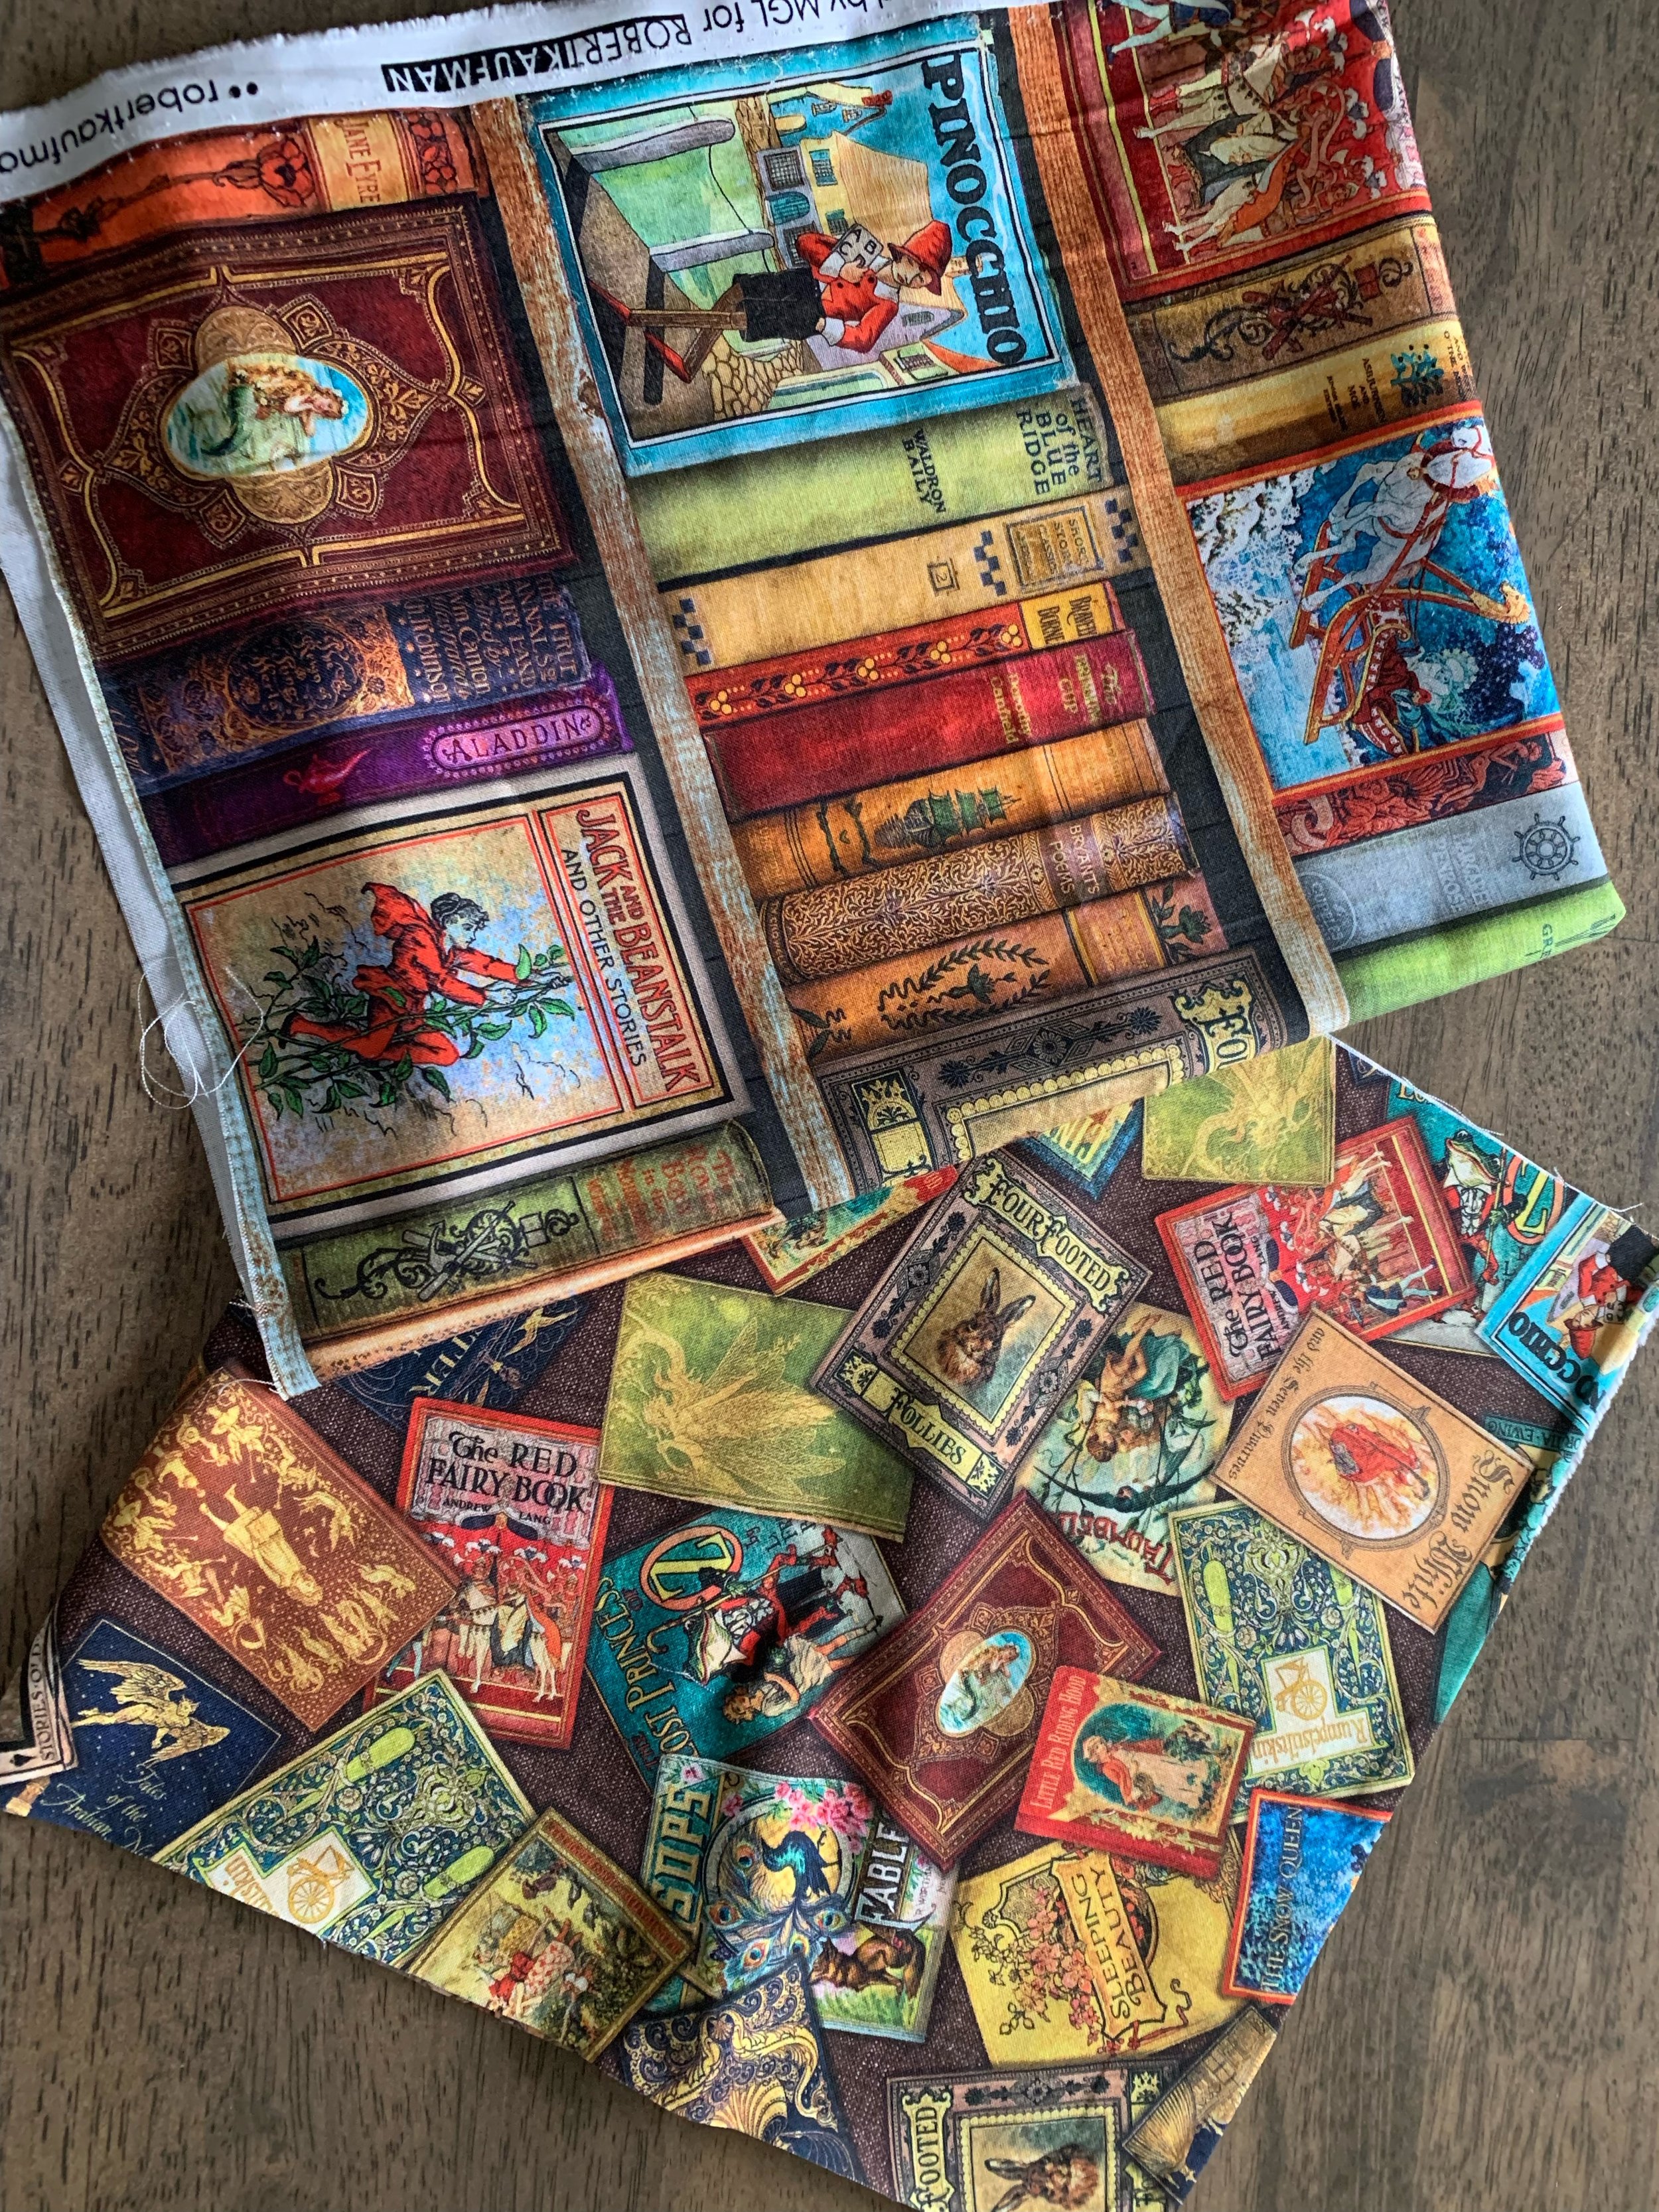
As with any sewing project, the first step after finding the pattern (so I guess it makes it the second step) is to find the fabric. Off I went to my Joann’s app to start looking, and deciding, and looking some more, and deciding some more, and…well you get the idea, but I ended up finding some fabrics I really liked in something that is smaller than a jelly roll, but I don’t quite remember what mom called it, maybe a cupcake or something like that? I don’t know, it’s a good thing I have her around to help me navigate these sewing waters. Anyway, I decided to work with these fabrics and then I picked up the hook and loop tape and some filler and headed home.

As you can tell if you follow the link to this pattern, it is not rocket sewing (get it? like rocket science!) which made it exactly perfect for a quick afternoon project. In fact, I liked it so much, I decided my friend’s mom needed choices for her port pillow, because, some days your mood doesn’t match the fabric, so you need options. And I made a couple more. All in all, I made 3 in about 45 minutes.

When I gave these to my friend, she was so excited. She had cancer herself several years ago and knew exactly what I was talking about when I said they recommended port pillows and was very pleased to be able to give these to her mom.

I like these so much, I think I will make some more and donate them to our local cancer care facilities.

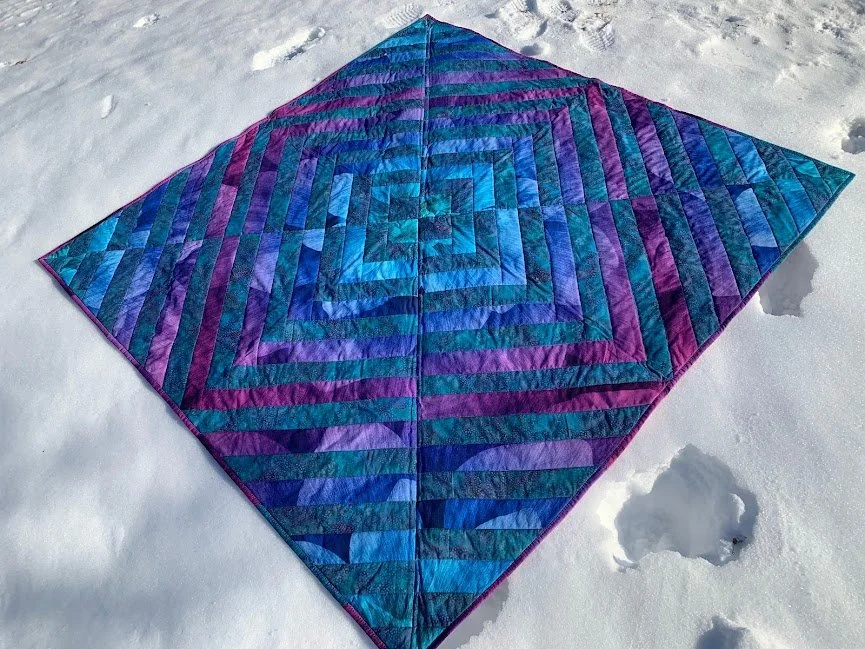
If mom lets me, I’ll be back to share more with you all soon. In fact, I am headed up to see her this weekend so we can make a chemo quilt. So look for that soon. In the meantime, mom will continue to wow you with her fancy projects…I’ll just be over here sewing the simple stuff.

Panels

I always find panels a little tricky. Do I use them as a focal point of a quilt and add block and/or borders around them? What do I do with them? I have admired the Hoffman Dream Big Floral panels for several years now. And I admire all of the quilters who use their embroidery machine to quilt each petal of the flower, but I am not usually a follower and I truly love having something a little different than the norm. I found this pattern Fractured Flowers by Cindi McCracken designs and thought I can do something with this. So, I visited one of my favorite local quilt shops and bought one Dream Big Floral Aurora panel and a great batik fabric that coordinated. And started pressing, cutting, & sewing, and pressing, cutting, & sewing and pressing, cutting, & sewing and pressing, cutting, & sewing……….

This was an easy sew-together block because it was a half-square log cabin. But I knew I could not make one wrong cut because if I did, I would have to purchase another panel (and these panels are not exactly cheap). So I turned off all electronics, televisions, and music (sometimes I get so into the music I start singing and dancing around and lose focus of the project at hand). Once I had cut all the strips I just needed to keep focused to make sure I was seeing the correct strip on the correct block, panel strips on the last round of batik strips, and batik strips on the last round of panel strips. As I said, this is just sewing half-square log cabin blocks but keeping the strips in the right order is not for the distracted quilter.

I cut and sewed and pressed and sewed some more and ended up with 2 big blocks. Then, another scary cut. Anytime I cut a sewed block I am always a little frightened, but it worked just like the pattern said. I sewed the cut pieces of one block onto the other block and there you have it. A very interesting and pretty quilt. Now I am an old-style quilter, so this took me a bit to fall in love with because my brain says you need a dark, light, and medium fabric, and this quilt definitely does not have that. So, I am learning that some of the old rules can be bent, and you can have a stunning result.

With one panel now made into a quilt, it was time to try it again. Back to the local quilt shop and another panel. This time I purchased a Dream Big Dance Teal panel. This panel did not have as many color variations, so I decided to add more interest by using a stripe fabric with it. I wanted all my stripes to be going the same way so I drafted the blocks on graph paper and cut them up just like I would when I cut and sewed them and to my amazement, the stripes all worked. Hooray, because I was afraid this was going to be a big pain and end up on the shelf of ‘never touch again in this lifetime.’

Panel quilt number two and now I can’t decide which one I like better. I love the richness of the Floral panel but it seems like there is a bit of whimsy Dance panel.

Christmas Gift

Did you use your sewing talents to create unique Christmas gifts? I did and it reminded me of when my daughters were young and I made them faux fur coats for Christmas. I found those pictures and really enjoyed those memories from 35 years ago.

This year I wanted to create something unique for a granddaughter and I decided that the Pink Pony Patterns Denver Double Zip Bag was the bag to make. The first thing I had to decide on was the best fabric, so I went to my fabric stash and found this plain black vinyl that I have had for nearly 10 years and hadn't found the perfect project for it. So after looking at the vinyl for hours and changing my mind at least 10 times I decided I had the tools to make this vinyl look even better and give it some texture. I used my Babylock Solaris and embroidered large piece of the vinyl using one of the built in Fills. I hooped a piece of tear away stabilizer in my 10 5/8"x16" Dime Snap-Hoop Monster, floated the vinyl and let the Solaris do its magic and transform my plain vinyl into a patterned vinyl. Once the vinyl was stitched, I cut my pieces out and started sewing.

The Denver Double Zip is not a difficult bag to sew but in full disclosure my first attempt ended up in the trash. I did not read the directions closely enough and when I got to the final seam line I could see that this bag was doomed. So I pitched it into the nearest trash can and started over, this time paying close attention to the written instructions. I added some fun little charms as zipper pulls and a long strap to make it a crossbody bag .

As you can see my granddaughter did receive her super cute crossbody bag and it looks great.

And now I think I need to make one of these bags for myself.

The vinyl I used for the project

Look how the embroidery changed the look of the vinyl!

The finished product with one of my favorite models


When you just know

If you have sewn for a while, I am sure you have seen a piece of fabric and known exactly how you wanted to use it. When I found this fabric I knew I had the perfect pattern for it. I have used this pattern many times and I always love the results.

With the perfect fabric and pattern, I knew this was going to be the best gift for my book club friend.

This pattern is quick to put together and since I have made this one more than 5 times, it is a quick stitch together for me. I literally spend more time figuring out what fabric to use and where it is going to go in the quilt than I do cutting and stitching it together.

I used my Babylock Regent machine to machine quilt the interior pieced area of the quilt. Outlining the books on the shelves and quilting grain lines in the wood look smashing pieces.

For the border, I used my Babylock Solaris to embroider a border design. It took me a few tries to get comfortable using the border designs but now I get perfectly stitched borders each time.

I was pleased with the way this quilt turned out, and my friend was so speechless when she opened it, she had tears.

I think this one was a great success.

Comfy but tricky fabric

Wow! It has been a long time since I last posted. But that does not mean I have not been sewing. This past weekend I delivered a baby quilt and 3 baby blankets with matching burp clothes for my new grandson who should be arriving any day now. I know his mom loves the soft blamkets but I had to make him a quilt because after all, it gave me another excuse (really who needs an excuse) to make a quilt.

So first here are the baby blankets.

Thes are all made with Soft and Minky fabric and flannel. These are so soft you just want to wrap yourself or the baby in them. Sometimes when sewing with Soft and Minky fabric it can be a bit of a challenge because it like to move around and stretch a bit. So my best success comes when I lay my flannel cut to size right side down on top of the right side of the Soft and Minky fabric. Then I add every pin I have all around. With my two pieces of fabric pinned together I take the whole thing to the sewing machine where I have my Digital Dual-Feed Foot installed.

DDF.jpg

And since I almost always have extra fabric I decided to create the matching burp clothes. Because what baby doesn’t need matching burp clothes and blankets?

Again using the Digital Dual-Feed foot makes these fast.


Notice on the orange burp I used a t-shirt knit for one side on the burp. Since the white was so plain I used a decorative stitch on my machine to stitch around the perimeter with a varigated thread to add some interest.

 
quilt (2).jpg
 

Here is the link to this foot https://www.babylock.com/accessories/feet-attachments/digital-dual-feed-foot and of course your local retailer can get this for you if you don’t have one. Otherwise look in your accessories that came with your machine and pull this bad boy out and put him on your machine, don’t forget to plug his short cord in on the upper back side of your machine. In the past I had used the walking foot but the Digital Dual-Feed foot makes my life so much easier.

 
burps.jpg
burps (2).jpg

And to satisfy my desire to quilt I made a baby quilt using this pattern http://minimushrooms.blogspot.com/p/bungalow-baby-quilt-pattern.html I did make it larger but I love how it turned out and the quilting was done on the my Babylock Solaris using Designs by JuJu Bubble end to end quilting design https://www.designsbyjuju.com/bubbles-end-to-end-quilting-embroidery-design This design is so easy to use and worked perfectly. Notice I onluy used the bubbles quilting design in the big blocks.

So now that grandma’s sewing is done, this little guy can arrive anytime so I can meet him!

Valentine Table Runner Textured

Who doesn’t love the idea of love and hearts.

Valentine table runner with chenille, couching, and pleated textures.

Valentine table runner with chenille, couching, and pleated textures.

This table runner is made completely with my Babylock Solaris with upgrade 1 and 2 installed, no purchased designs were used.

Couched Heart

Couched Heart

The Couched Heart block was created on a Babylock Solaris with upgrade 1. It can also be created on a Solaris 2.

First, I created the center block using the embroidery couching function. This is a built in design that was added to the machine with Upgraded 1, released in 2019. Using the stamp feature I created a basic outline and with IQ Designer I closed the openings in the design so I could use and add a Fill to the background of the heart.

This design alone would look very nice duplicated and just changing the color of the yarn used in each stitch out. When I went shopping for yarn I was hoping to find a red and pink variegated but I guess the yarn companies didn’t think I needed it for this project. Or maybe it was just the store’s choice to not include a variegated variety in my choices that day.

After I finished this block I knew I wanted more texture in the other blocks so I explored some of the other features of the machine.


Pleated heart block

Pleated heart block

Creating the Pleated Heart block can be done on any machine with Babylock IQ Designer or similar.

The pleated heart is made by ironing pleats in my fabric and creating a reverse applique. I used one of the decorative stitches found in IQ Designer line properties to do the final stitch around the outside of the heart. The steps to create this block are

  1. Prepare your heart fabric by pressing accordion style pleats

  2. Stitch out the outline of your block -cutting size. I was making my blocks finished 8” x 12”. My first thread stop was directly on stabilizer and I stitched out an 8 1/2” x 12 1/2” rectangle. This gave me a positioning outline for my batting

  3. I placed my batting inside the first stitched out rectangle. My next thread stop was an 8” x 12’ rectangle stitching the batting to the stabilizer.

  4. I trimmed the batting on the outside of the stitching attaching it to the batting. This reduces batting bulk in my future seam allowances.

  5. The next thread stop stitched the outline or placement guideline for my pleated fabric. This is stitched directly on the batting no fabric yet.

  6. Create a heart in IQ designer using the shapes using the Line tool

  7. Place the pleated fabric on top of the batting within the placement guideline for the heart. Stitched out tack down thread stop for the heart which is duplicate of the last thread stop.

  8. Trim the pleated heart fabric close to the outside of the tack down stitching.

  9. Place the back ground fabric in side the first 8 1/2” x 12 1/2” rectangle stitched. Stitch a tack down stitch a duplicate of the very first thread stop.

  10. Stitch another heart outline over the background fabric. When this stitching stops carefully cut the inside shape of the heart out of the background fabric close to the inside of the stitched line.

  11. Finally stitch another heart outline. This will stitch over the edge of the background fabric and the pleated heart fabric. This stich was created IQ Designer using the chain stitch line property. I wanted to give it a lacy look border.

  12. The very last step adding a background fill from IQ Designer. I chose the rose because I think Valentines day is all about hearts and flowers. And sometimes candy is nice particularly if is expensive chocolate candy.

Chenille heart.jpg


The Chenile Heart block can be created on any machine with IQ Designer or similar.

  1. Ready your fabric to create the chenille heart. I used on piece of the block base fabric and four pieces of pink fabric. Sine I am making a 5 x 7 block for demonstration I cut my fabric pieces 6 x 6 and stacked them together.

  2. Now at my machine I am going to create the same block outline stitch, batting tack down stitch, and heart outline stitch just as I did on the Couched heart block and the Pleated Heart block. If you didn’t watch either of those videos you may want to refer back to it.

  3. In IQ Designer create

    1. a frame to crop

    2. diagonal stitch lines for the chenille effect.

    3. and use the crop frame to only reveal the diagonal lines inside the heart

  4. Duplicate the heart outlline stitich to tack down the fabric stack for the chenille heart

  5. Duplicate the the block outline to tack down the block base fabric

  6. Duplicate the heart outline on the block base fabric to have a cutting line to reveal the fabric to be chenilled for the heart

  7. Add a decorative stitch (I used the candlewicking stitch) on the outline of the heart

  8. Add the fill design on the outside of the heart in your block


I see some chenille bunnies on my table for Easter!

Happy Valentines Day!